VamShop - React Shopping Cart CMSVamShop - React Shopping Cart CMS
VamShop is React and Node.js based eCommerce platform.VamShop - React Shopping Cart CMS
VamShop is React and Node.js based eCommerce platform.
Features
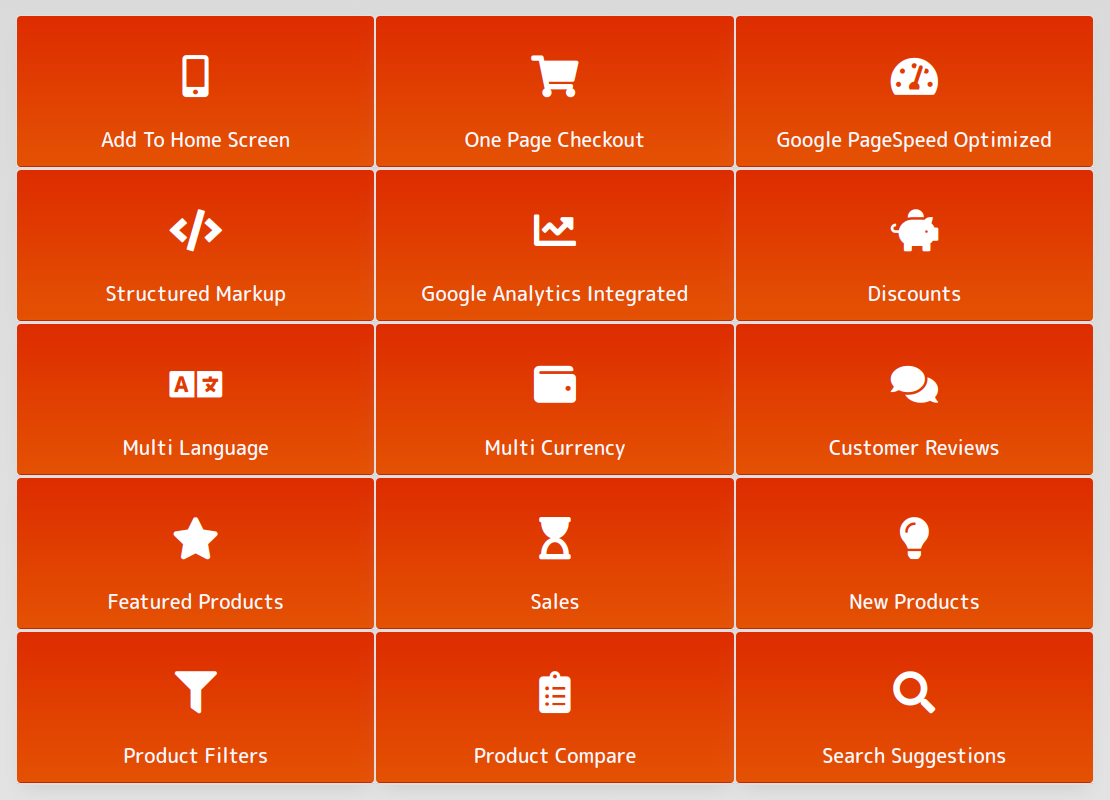
- Products (options, variants, attributes)
- Product categories
- Inventory and stock management
- Customers
- Customer groups
- Orders
- Order custom statuses
- Pages
- File manager
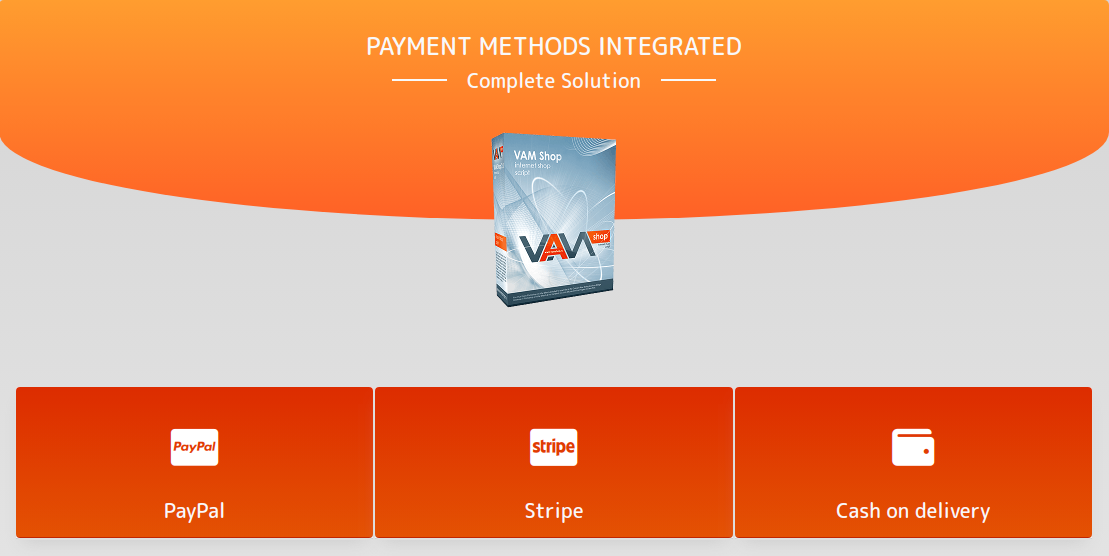
- Shipping and payment methods
- Custom shipping fields
- Payment Gateways
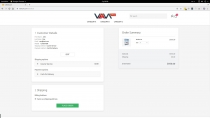
- Checkout options
- Access Tokens
- Export theme to zip archive
- Install theme from zip archive
- Theme Settings
- Apps Store
- Server-side rendering (SEO friendly)
- Passwordless
Requirements
- NodeJS: 8.x-11.x
- NPM: >=6.3.0
- PM2: >=3.0.3
- MongoDB: >=4.0
Instructions
A) Backend (API) Installation
Go to vamshop-api directory.
- Change settings at config/server.js
-
Open
server.jsand change- MongoDB Creditionals - you can use default values for the first time.
- SMTP Settings - you can use default values for the first time.
- JWT and Cookie Secret Key - you can use default values for the first time.
Save file and go back to root app direcotry
cd ../
-
Install dependencies
npm i
- Setup database
-
Prepare database at this setup our database is empty. To add default data, indexes and access token we need to run:
npm run setup <email> <domain></domain></email>
-
We don't have real domain, so we'll use our local domain:
npm run setup [email protected] http://localhost:3000
-
This script will add token with email [email protected] and my domain to http://localhost
-
Start application in the background
pm2 start process.json
-
or you can start app in your terminal (you will see debug information, that is useful for debug):
npm start
-
At this setup, we have api running on port 3001 and available at http://localhost:3001
-
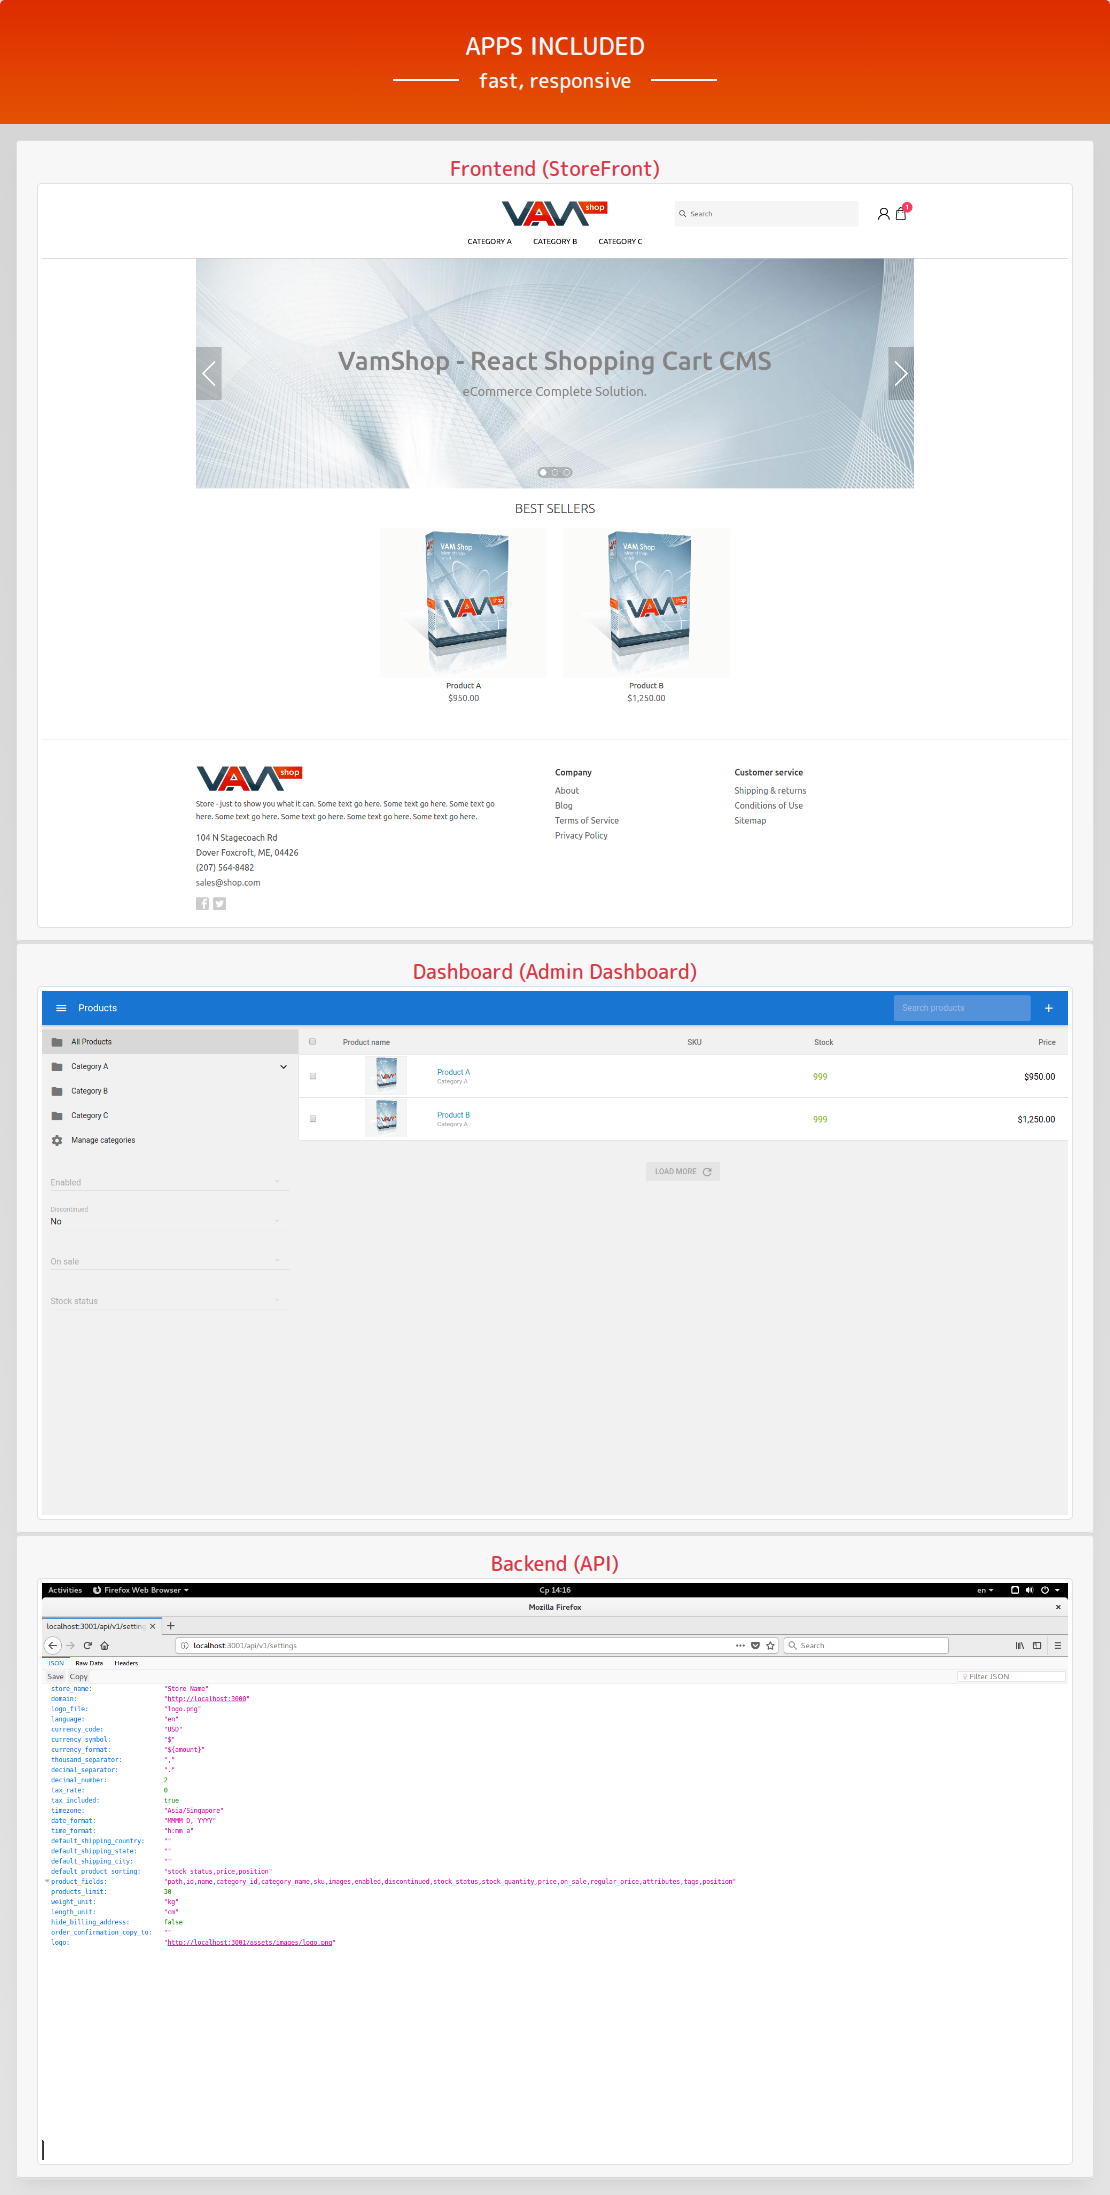
For example, we can open in browser default store settings: http://localhost:3001/api/v1/settings
info: API running at http://localhost:3001
info: MongoDB connected successfully
B) Frontend (Store) Installation
-
Change settings
cd vamshop-storefront/config
-
Open store.js and change
- JWT and Cookie Secret Key - you can use default values for the first time.
Save file and go back to root app direcotry
cd ../
-
Install dependencies
npm i
-
Build project
npm run build
-
Start vamshop store frontend application in the background
pm2 start process.json
-
or you can start app in your terminal (you will see debug information, that is useful for debug):
npm start
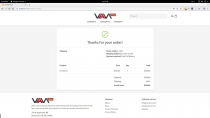
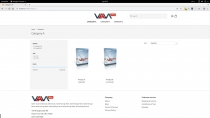
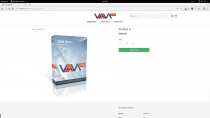
- At this setup your vamshop store is now connected to api and available in browser at http://localhost:3000
-
P.S. Your backend (api) must be online. Don't forget to start backend before you starting storefront app.
info: Store running at http://localhost:3000
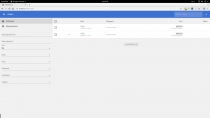
C) Admin Dashboard Installation
-
Go to vamshop-dashboard app folder
cd vamshop-dashboard
-
Install dependencies
npm i
Build project
npm run build
Start vamshop store frontend application in the background
pm2 start process.json
or:
pm2 serve ./dist 3002
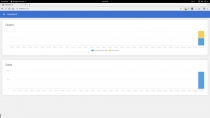
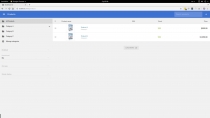
- At this setup your vamshop admin dashboard app is now connected to api and available in browser at http://localhost:3002
- P.S. Your backend (api) must be online. Don't forget to start backend before you starting admin dashboard app.
Other items by this author
| Category | Scripts & Code / JavaScript / Miscellaneous |
| First release | 21 August 2019 |
| Last update | 21 August 2019 |
| Files included | .css, .html, Javascript .js |
| Tags | ecommerce, dashboard, rest, API, backend, spa, shopping cart, frontend, NodeJS, PWA, react |


