SendSpace Clone PHP ScriptSendSpace Clone PHP Script
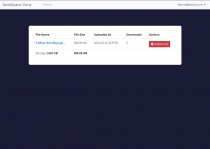
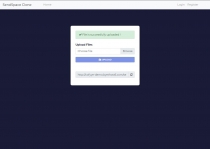
SendSpace Clone is a File-Sharing platform where you have control over your files. You can upload, download and delete files.


 Average rating of 5.0 based on 1 votes
SendSpace Clone PHP Script
SendSpace Clone is a File-Sharing platform where you have control over your files. You can upload...


 Average rating of 5.0

Overview
IMPORTANT !!!
This project has been uploaded to free hosting and there is one small problem, and that is that email sending is blocked. So, if you create a new account, you will get an SMTP not Authenticated error. Just go back to the home page when it comes out and contact me to verify your account. However, there is also a demo account, you can upload files without registration and logging in, and you can also as a user.
Demo: Click Here
The demo account is:
Email: demo@demo.com
Pass: demodemo
SendSpace is a File-Sharing platform where you can upload your own files, and those files are stored on SendSpace servers and always you can access them through your SendSpace account. This one the project is actually a clone of the real SendSpace.
Features
- Cool Design
- Responsive Design
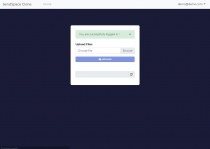
- Upload files as a guest
- Upload files as a user
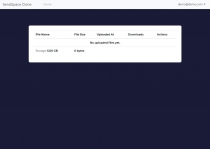
- Control over files
- Upload function
- Delete function
- Download function
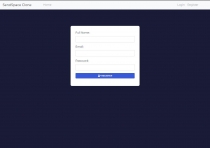
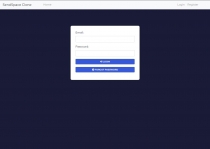
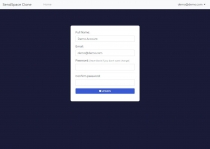
- User register & login
- User reset password
- User email verification
- User edit profile
Requirements
- Bootstrap 4
- Font Awesome Icons
- PHP 7+
- SMTP Server & Email Account on Web Hosting
Instructions
- Download zip file.
- Extract zip file.
- Open file in /assets/core/db.php with some text editor.
In this file, you have variables to connect with database. $db_host,user,password, table. - Open file in /assets/core/config.php with some text editor.
In this file, $url is your web url, like example.com and put your link "example.com" within the quotation mark without slash "'/".
$emailLogin is your email from Email account on Web Hosting
$passwordLogin is your password from Email account on Web Hosting
put information within the quotation mark
I recommend that you do not touch this $guests_upload_prefix and $users_upload_prefix
$limit_upload is limit for uploading file to server, default 5GB per file.
$max_file_upload_limit is limit for account, max allowed file size for one account, default 5GB. Both values must be in bytes
$file_allowed_ext is array with extensions. If you want to add more extension like .docs .ppt .pptx and more, you can put extension into array. I didn't add some extensions like .py .php because they can be used to enter VPS and take all the data. It needs an additional fix for that, unfortunately, I still don't know how to do it, but I will do my best to add it in the next version. All extensions that you add here, you have to do the same in another file, and the path of that file is /assets/js/file_validation.js and line is 50, variable called file_allowed_ext. Everything you add to the array in the config.php file, you have to do the same here for everything to work properly. - Then, open file in /assets/core/functions.php and on line 13 you have function called loadSMTPSettings. In this function, you have $mail->Host. Here you enter the smtp server. In my case, the smtp server is from gmail and it reads smtp.gmail.com
But you put it as it says on your web hosting, or cpanel, whatever. The SMTP server from gmail works on localhost, but does not work on free web hosting, so unfortunately it cannot be used because free hosting blocks it. Maybe when you buy some shared web hosting, or vps, it won't be blocked. All in all, it is best to use an smtp server from your shared web hosting or vps. Next is $mail->SMTPSecure. Here you enter what type of encryption you will use. Whether you will SSL or TLS, basically, after that the next part is $mail->Port and if you use SSL encryption, the port for that encryption is 465, and if you use TLS then port 587. This is in my case and this is how it is for gmail. But, it may be different for you, depending on where you buy the web server or vps, if it is vps, how to set it up and the like. Basically, all the information will be printed out to you and you just enter those values. - Then, open file called sendspace_clone.sql with notepad and copy all text. After that, login into your phpmyadmin and create a database, and in this database, click on SQL section and paste all text and click GO.
- Once you've done everything, log in to FTP from your website and transfer everything from the sendspace_clone folder to FTP, log in to the site and check if you have an error connecting to mysql. If you do not have one, the next item is to enter PHP.ini and change the following values. These values refer to uploading files. So, if you set the upload limit to 100MB then you will put all these values at 100M, however, if you plan to have the upload limit at 10GB then set all these values to 10G, since I set the upload limit to 5GB, to me all these values are at 5G.
upload_max_filesize=5G
post_max_size=5G
memory_limit=5G - Once you've done all this, double check everything, whether it's doing file uploads, deleting, downloading, registering, verifying, to make sure everything is working properly. If you need any help, feel free to contact me.
Reviews
Other items by this author
|
PHP Script Installation Service
Don't worry about the installation of your script! Have your PHP Script installed for you.
|
$39 | Buy now |
| Category | Scripts & Code / PHP Scripts / Uploaders |
| First release | 18 February 2021 |
| Last update | 18 February 2021 |
| Software version | PHP 7.0, PHP 7.1, PHP 7.2, PHP 7.3, PHP 7.4 |
| Files included | .php, .css, .sql, Javascript .js |
| Tags | file upload, file download |


